How to Install BBQ Rotisserie: A Comprehensive Guide
Barbecue enthusiasts know that a good rotisserie can take outdoor cooking to the next level. The slow and steady rotation of meat over an open flame infuses a delicious smoky flavor, ensuring tender, juicy results every time. If you’re ready to elevate your grilling game and install a BBQ rotisserie, this comprehensive guide will walk you through the process step by step.
Why Install a BBQ Rotisserie?
Before diving into the installation process, let’s briefly explore why you might want to invest in a BBQ rotisserie. Here are a few key benefits:
1. Enhanced Flavor: The rotating motion of a rotisserie ensures even cooking and basting, resulting in succulent and flavorful meats.
2. Versatility: A rotisserie opens up a whole new world of cooking possibilities, allowing you to prepare different types and cuts of meat, poultry, and even vegetables.
3. Hands-Free Cooking: Unlike traditional grilling methods where you need to flip the meat manually, a rotisserie allows for hands-free cooking, freeing you up to tend to other tasks or simply relax with your guests.
Now that we understand the advantages, let’s move on to the step-by-step installation process.
Step 1: Choose the Right Rotisserie
The first step in installing a BBQ rotisserie is selecting the right one for your grill. Consider the following factors when making your choice:
1. Compatibility: Ensure that the rotisserie kit you choose is compatible with your specific grill model and size.
2. Weight Capacity: Check the weight capacity of the rotisserie to ensure it can handle the amount of food you plan to cook.
3. Motor Power: A strong motor is essential to ensure consistent rotation, especially for larger cuts of meat.
Once you have chosen the appropriate rotisserie, you are ready to move on to the installation process.
Step 2: Assemble the Rotisserie
Follow the manufacturer’s instructions to assemble the rotisserie. Typically, this involves attaching the spit rod to the motor with the provided brackets or hardware. Ensure that all connections are secure and tightly fastened.
Step 3: Prepare the Grill
Before installing the rotisserie, it is important to prepare the grill for optimal cooking conditions. Follow these steps:
1. Clean the Grill Grates: Remove any debris or residue from the grill grates using a grill brush or scraper. This ensures proper heat distribution and prevents any unwanted flavors from previous meals.
2. Create Indirect Heat Zones: Set up your grill with direct and indirect heat zones. The rotisserie should be positioned over the indirect heat zone to allow for slow and even cooking.
3. Preheat the Grill: Preheat the grill to the desired cooking temperature. This helps to ensure an even cook and prevent sticking.
Step 4: Mount the Rotisserie
Now that your grill is prepared, it’s time to mount the rotisserie. Follow these steps:
1. Attach Mounting Brackets: Depending on your grill model, you may need to attach specific mounting brackets or brackets included with the rotisserie kit. Consult the manufacturer’s instructions for the correct placement and installation method.
2. Secure the Motor: Once the brackets are in place, mount and secure the motor according to the manufacturer’s instructions. Ensure it is firmly attached to prevent any wobbling during operation.
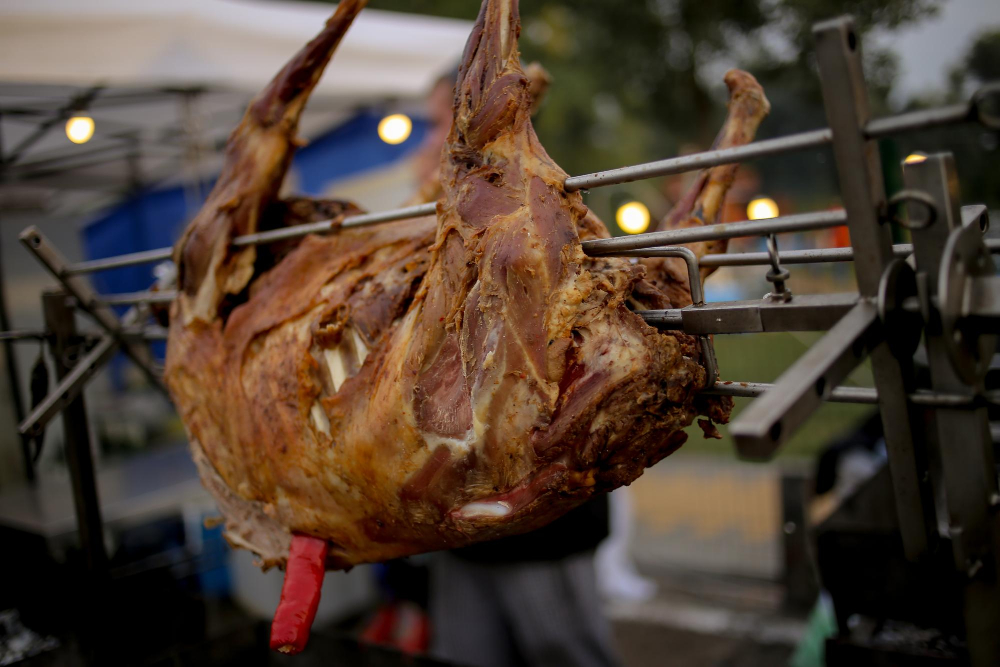
3. Insert the Spit Rod: Slide the spit rod through the designated openings in the brackets and secure it in place.
Step 5: Test and Adjust
Before placing any food on the rotisserie, it is essential to test and adjust the setup to ensure optimal performance.
1. Test Rotation: Start the motor and observe the rotation of the spit rod. Ensure it spins freely without any obstructions or excessive wobbling.
2. Adjust Height and Balance: If necessary, adjust the height and balance of the food on the spit rod. This helps to ensure even cooking and prevents uneven weight distribution.
3. Monitor Temperature: Use a reliable meat thermometer to monitor the internal temperature of the food during the cooking process. This ensures food safety and desired doneness.
Step 6: Start Cooking
Once you have tested and adjusted the rotisserie, you are ready to start cooking. Follow these general guidelines for a successful rotisserie experience:
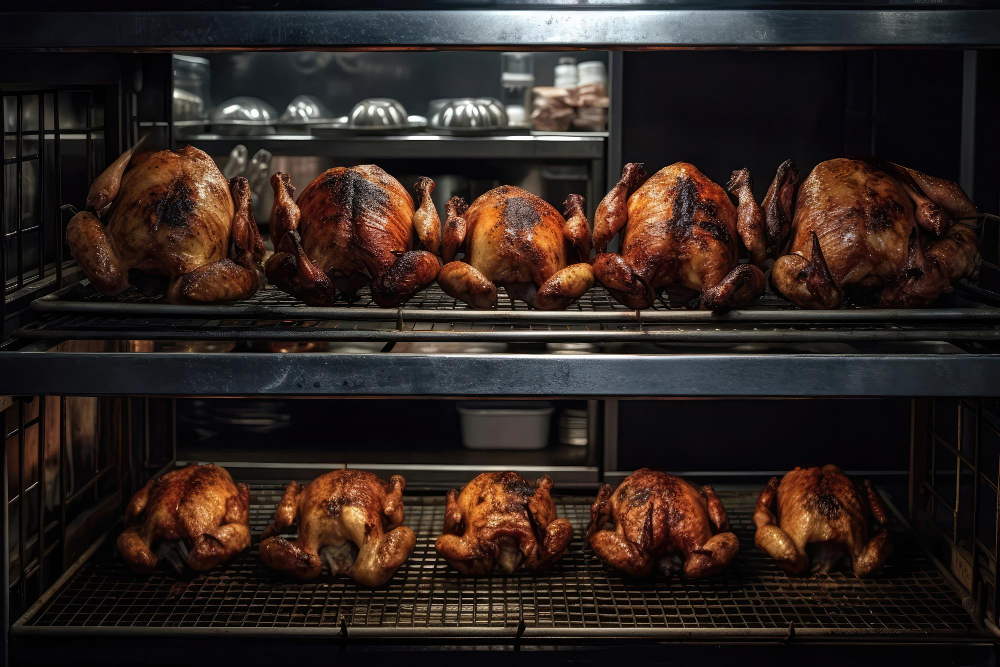
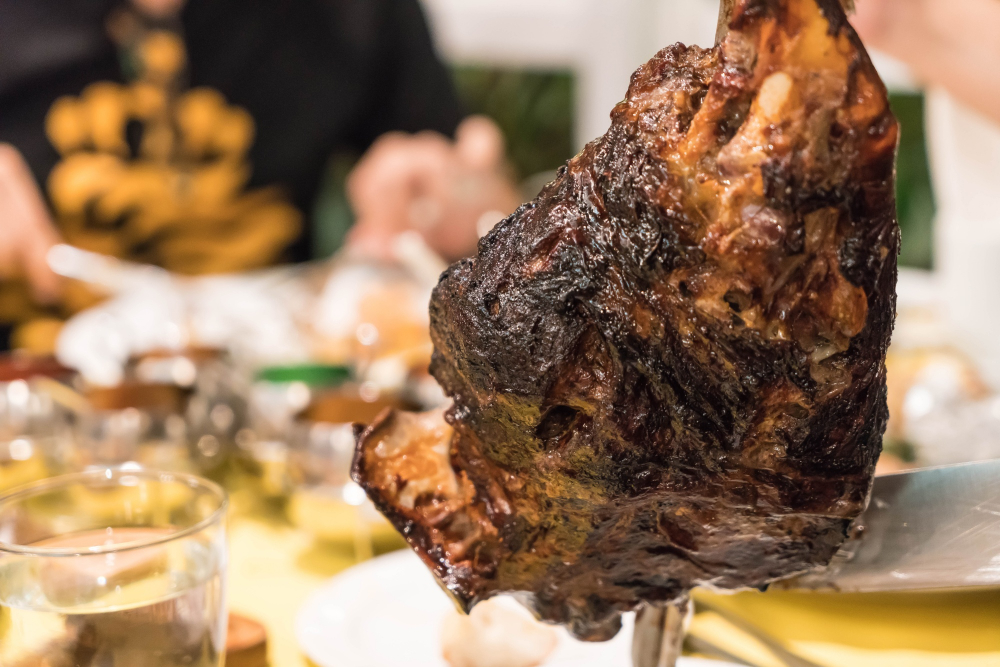
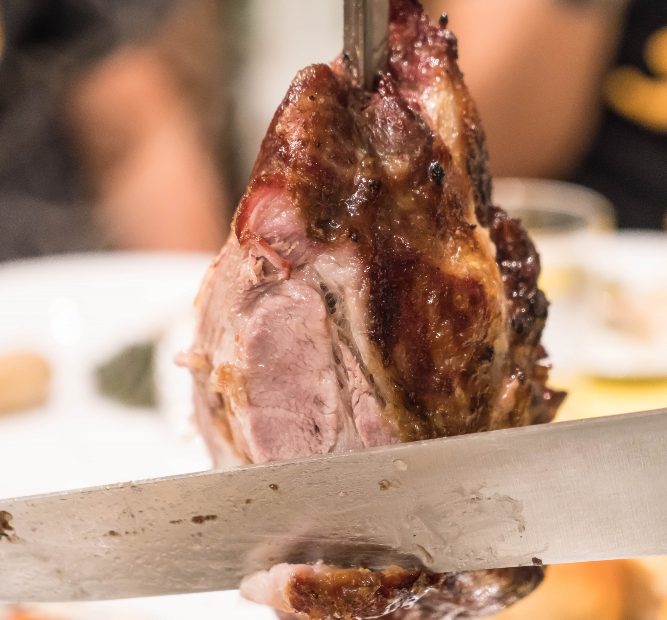
1. Choose the Right Cuts: Opt for cuts of meat that are suitable for rotisserie cooking, such as whole chickens, roasts, or large chunks of beef or pork.
2. Seasoning and Basting: Apply your desired seasoning or marinade to enhance the flavor of the meat. Basting during the cooking process helps to keep the meat moist and flavorful.
3. Monitor Cooking Time: Rotisserie cooking times may differ from traditional grilling. Use a recipe or cooking guide specific to rotisserie cooking and monitor the progress using a meat thermometer.
In conclusion, installing a BBQ rotisserie can take your outdoor cooking to new heights. By following the step-by-step guide outlined above, you can enjoy succulent, flavorful, and hands-free meals in no time. So, gear up, select the perfect rotisserie for your grill, and get ready to impress your family and friends with your culinary skills!